
LEGO Dynamics Kit
For the final project of ME-0140 Inventive Design, the class was divided into groups of 2 or 3, and each group has to design a hands-on educational experience for a college-level dynamics course. The design has to be centered around the LEGO BricQ Motion Prime Set, and the groups are allowed to add additional software or hardware components to enhance their designs. This project was made in collaboration with Jeremy Kanovsky and Hanna Khoury.
The following short video serves as an overview of the project. Following a video, you may find a more comprehensive write-up that captures the development process of the product.
Table of Contents
- Market Research & Initial Plan
- "The Group Pitch"
- Activity Design
- User Testing & Observations
- Future Directions
- Personal Reflections
Market Research & Initial Plan
After playing with the LEGO BricQ kit ourselves and taking a closer look at the LEGO Education website, we noticed that unlike some of the other products of LEGO education - MINDSTORMS EV3, SPIKE Prime, etc. - the set contains only mechanical components. As a result, the set has room for more basic pieces such as beams, axles, and connectors. The LEGO designers also did a great job incorporating more vibrant colors to the set, giving the set a more gender-neutral theme while maximizing the solution diversity of student's creations. The set also contains some specialized equipment that is tailored towards a physics classrooms, such as protractors, weights, pneumatics, and plastic balls.

Image source: link
During our research, we also noticed that the kit was made for students in grade 6 - 8. Since we are asked to design the experience for college classrooms, it will be important for us as we go into the design phase to think about how we can use a middle-school level kit to teach relatively advanced knowledge.
As an initial plan, we will be designing a series of lab activities, in which students will build physical representations of some theoretical textbook problems using the BricQ kit. We will design a series of placemats as instructions as well as looking to incorporating additional sensors or other hardware to facilitate data acquisition.
"The Group Pitch"
Two weeks into the project, we were asked to make a short movie that illustrates the direction of our design. We combined several elements, including a stop-action style white board write-up (Hanna) and several example builds (me). Jeremy took some time and combine our materials into an amazing short video:
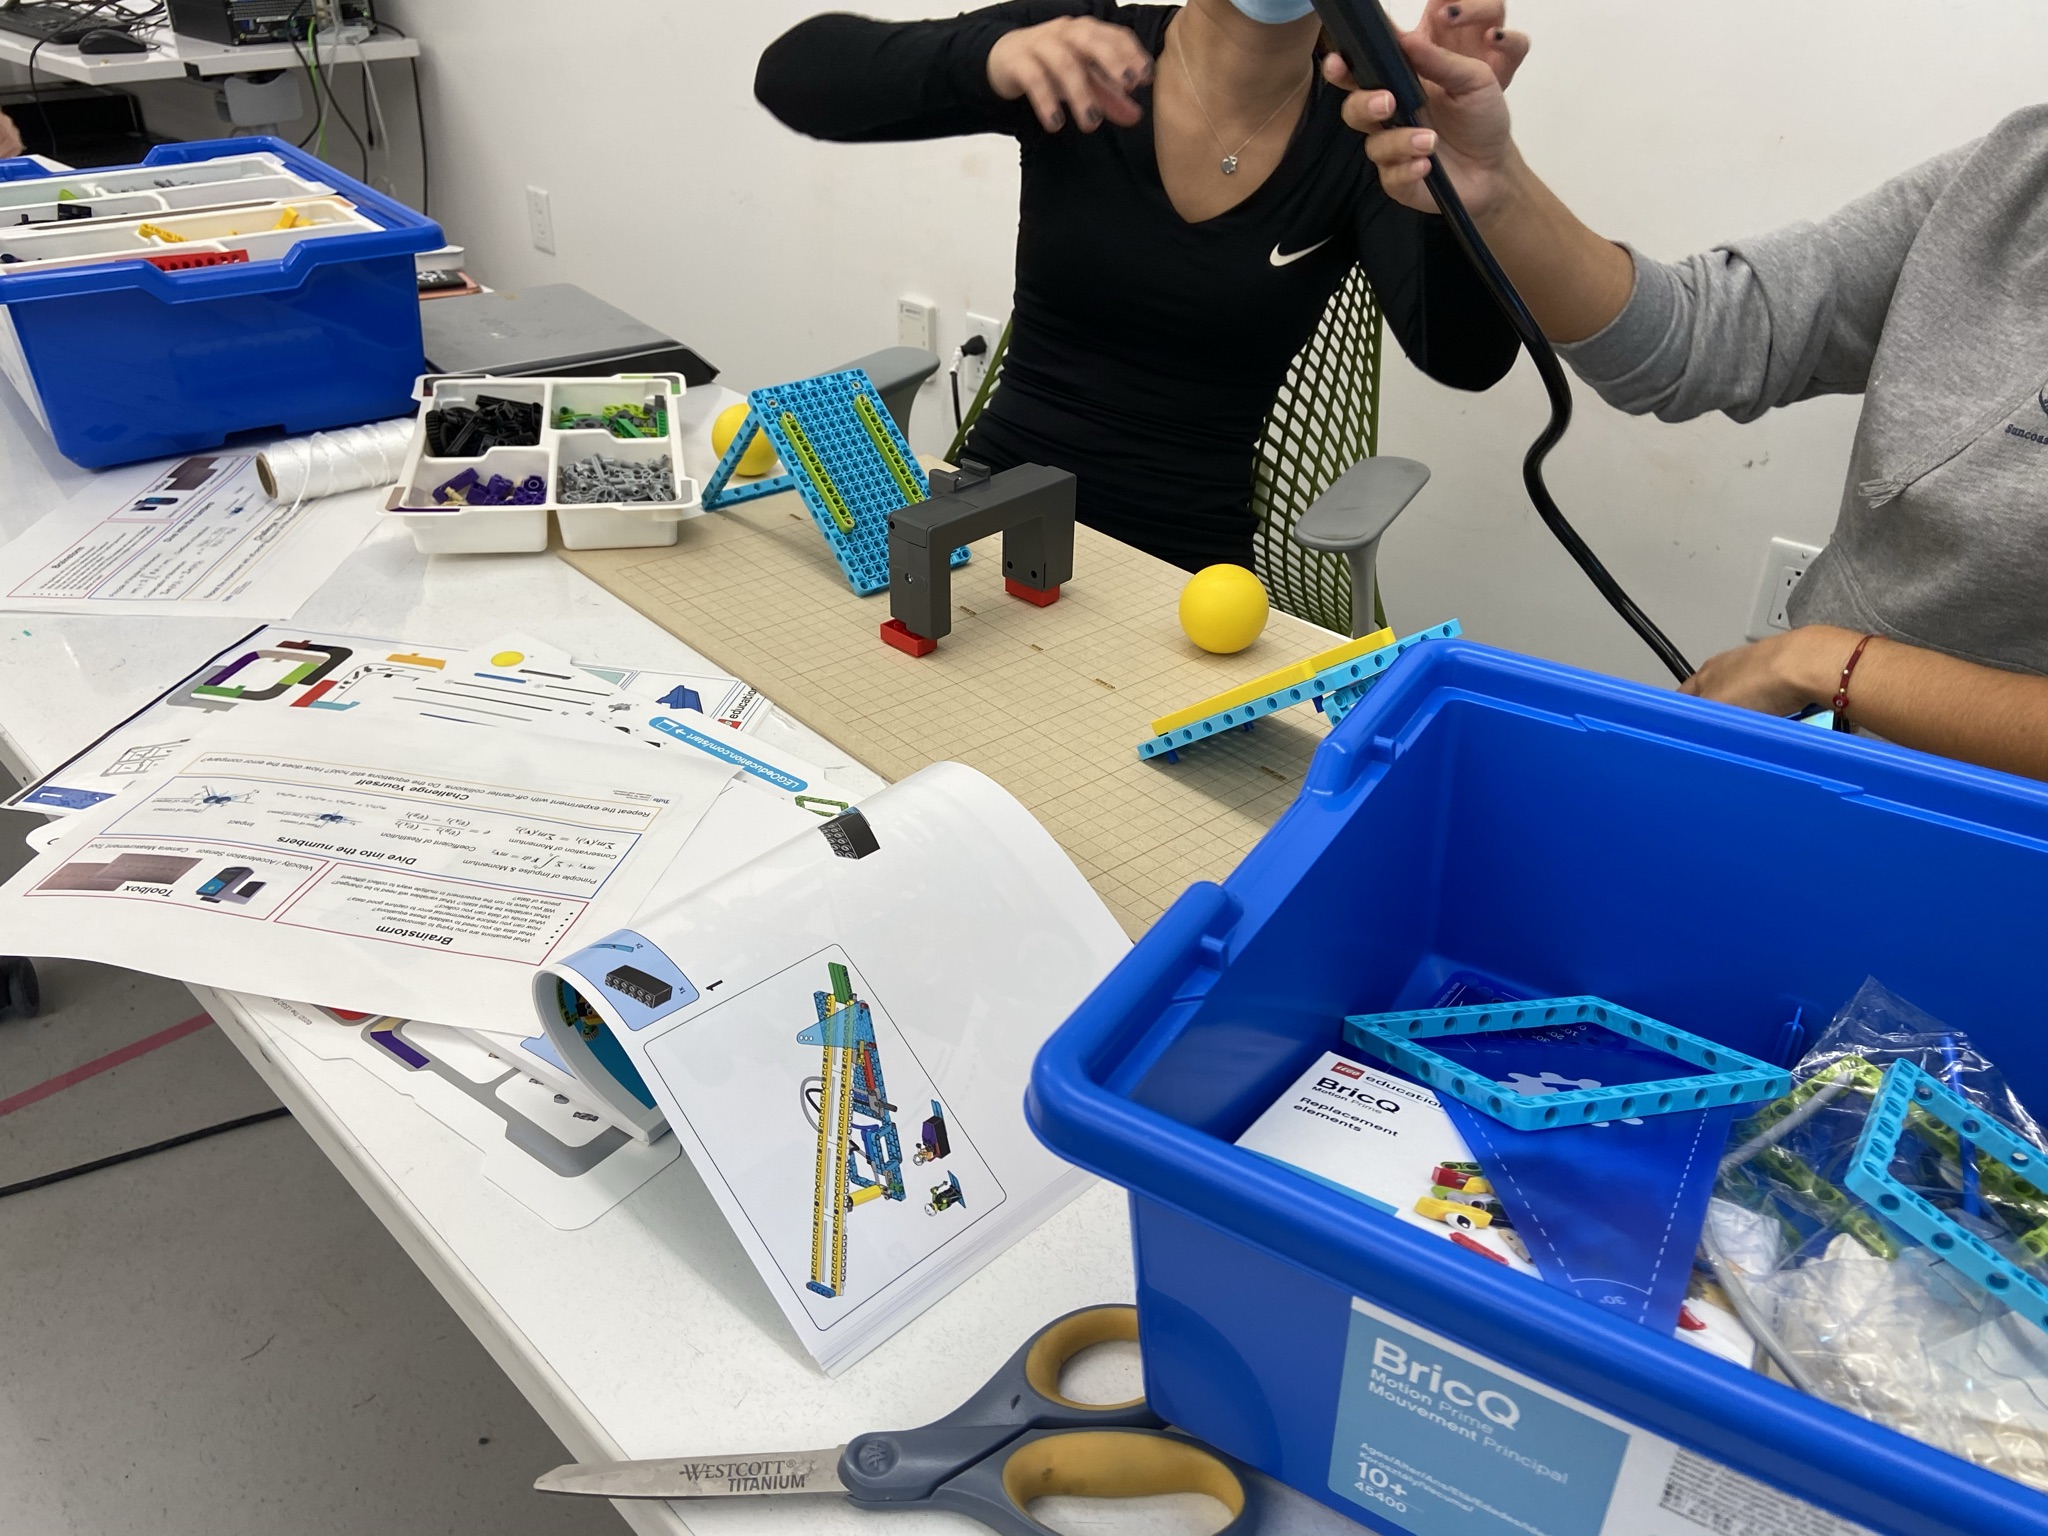
Activity Design
In limited time, we designed a total of 3 hands-on lab experience, each will be accompanied by their respective placemats, which are single-sheet, double-sided content that are designed to inspire students to create their own variation rather than simply following building instructions. One example placemat for "conservation of momentum and impact" is shown below. The complete list of placemats we designed can be found here:

.jpg)
All Placemats: link
As for additional hardware, we decided to incorporate methods to help students measure the velocity of moving parts, as it is an important parameter of many college-level dynamics concepts. The first hardware is a Vernier Go Direct® Photogate Sensor. It is a sensor that has two photogates located at the tips of the C-shaped body. The sensor calculates the velocity of any object passing through by measuring the difference between the trigger time of each photogate. The Go Direct® sensors communicates with most smartphones, tablets, and laptops, and can be paired and ready for use within minutes.

Image source: link
The second hardware that we incorporated was a laser-cut grid pattern I designed in Adobe Illustrator. It can be used in combination of the slow-motion feature on most smartphone cameras to estimate the velocity of a moving object traveling across the grid. This grid is heavily inspired by Mark Rober's 40MPH Speed Square Blanket.
Each of the two methods has their own advantages and drawbacks. We chose the combination as we hope to get a good balance between the precision of the measurements and ease for setup.
User Testing & Observations
We decided to test our kit on students with varied experience in dynamics. Therefore, we recruited 3 groups of 2 undergraduate engineering students ranging from Freshmen to Juniors. Since most Tufts mechanical engineering students take dynamics in their Sophomore year, we have gathered students who has never taken dynamics, students who are currently in the course, and students who recently took the course.

Participant's class year distribution

Whether each participant has taken (or are currently taking) dynamics
Each session of user testing has a duration of 30 minutes. Each participants are asked to go through the lab activity by following the initial instructions on the given placemat. The participants are then asked to fill out a short survey which has a series of short questions regarding their experiences. Each participant was also asked to sign an image release form so that we can document their activities for future analysis.


From the user testing sessions, we noticed that all participants decided to build their own variation from the example images instead of trying to replicate the exact setups. One group even decided to build a setup that is completely different from all three examples we provided on the placemat. This demonstrates that our starting instructions successfully facilitated solution diversity to the same problem.
On the other hand, we noticed that some participants were having trouble understanding how the additional hardware works. In particular, it took some extra explanations from us to help them understand exactly how the laser-cut speed measurement grid works. Since the placemats are intended to provide the students with all information they need to carry out the lab activities, a future revision will be focusing on improving the clarity of the instructions.
Future Directions
Overall, we believe that the combination of minimal placemat instructions, the BricQ kit, and additional data acquisition hardware, we have presented a viable solution that brings hands-on experience of dynamics into college classrooms. The future direction of the product will be focusing on improving the existing activity instructions, as well as expanding the list of activity to include all topics from the dynamics course.
An additional direction that our group had been talking about is incorporating augmented reality apps into the experience. With apps such as the Vuforia Spatial Toolbox from PTC, we can combine instructions, visualizations, and data acquisition into a single platform that is more scalable and easier to maintain and update.

Example ARconfiguration made by Hanna
Personal Reflections
Through the course of the project, I have gained a much better understanding towards the engineering design cycle of brainstorming, designing, testing and iterating.
In terms of equity, the project also made me realize how the variation in student's prior knowledge of dynamics concepts and prior experiences of building LEGOs can impact their performance in working with the hands-on activity. This can be further generalized to many other engineering education scenarios, where students from different level of background knowledge come together and work on projects under the same prompt. It is important to design a classroom experience so that the inequality of prior knowledge can be balanced and even utilized to maximize learning for every student.