TinyCar
This is project 4 for my Microcontrollers Programming class. This project was supposed to be a revision to Project 1, but I got permission from the professor to go slightly beyond a revision. I made a pretty small robot car back in P1; this time, I attempted to make the absolute smallest robot car I can.
In the end, I was able to come up with a robot car slightly larger than a quarter. The robot has an onboard 3.7V Lipo battery charger, two IR reflectance sensors for line-following feedback, and the standard M.2 MicroMod connector which allows me to hot-swap the RP2040 with other available MicroMod boards (ESP32, SAMD51, etc.). The robot is driven by two tiny stepper motors, which gets power directly from the GPIOs of the microcontroller.
This project was a huge challenge for my PCB design and soldering skills. I was able to get more experience with manually soldering and re-working some fine-pitch components, as well as understanding the design behind a Lipo battery charging system. I also wrote a MicroPython library for controlling tiny stepper motors directly with GPIOs, which can be found on my GitHub.


Finished Robot
TinyCar driving on the back of an iPhone X
Design
My personal take on the definition of a "robot car", as opposed to an RC car, is to have an onboard microcontroller. Since the Raspberry Pi Pico is still relatively large and contains unnecessary peripherals, I decided to tryout the Sparkfun MicroMod RP 2040. It contains the same chip (RP2040) as the Raspberry Pi Pico, but it comes in a much smaller package.
To further reduce the size of the robot, I decided to make a stackable system with some 0.05'' pitch pin headers, which are half the size of traditional pin headers or the holes on breadboards.

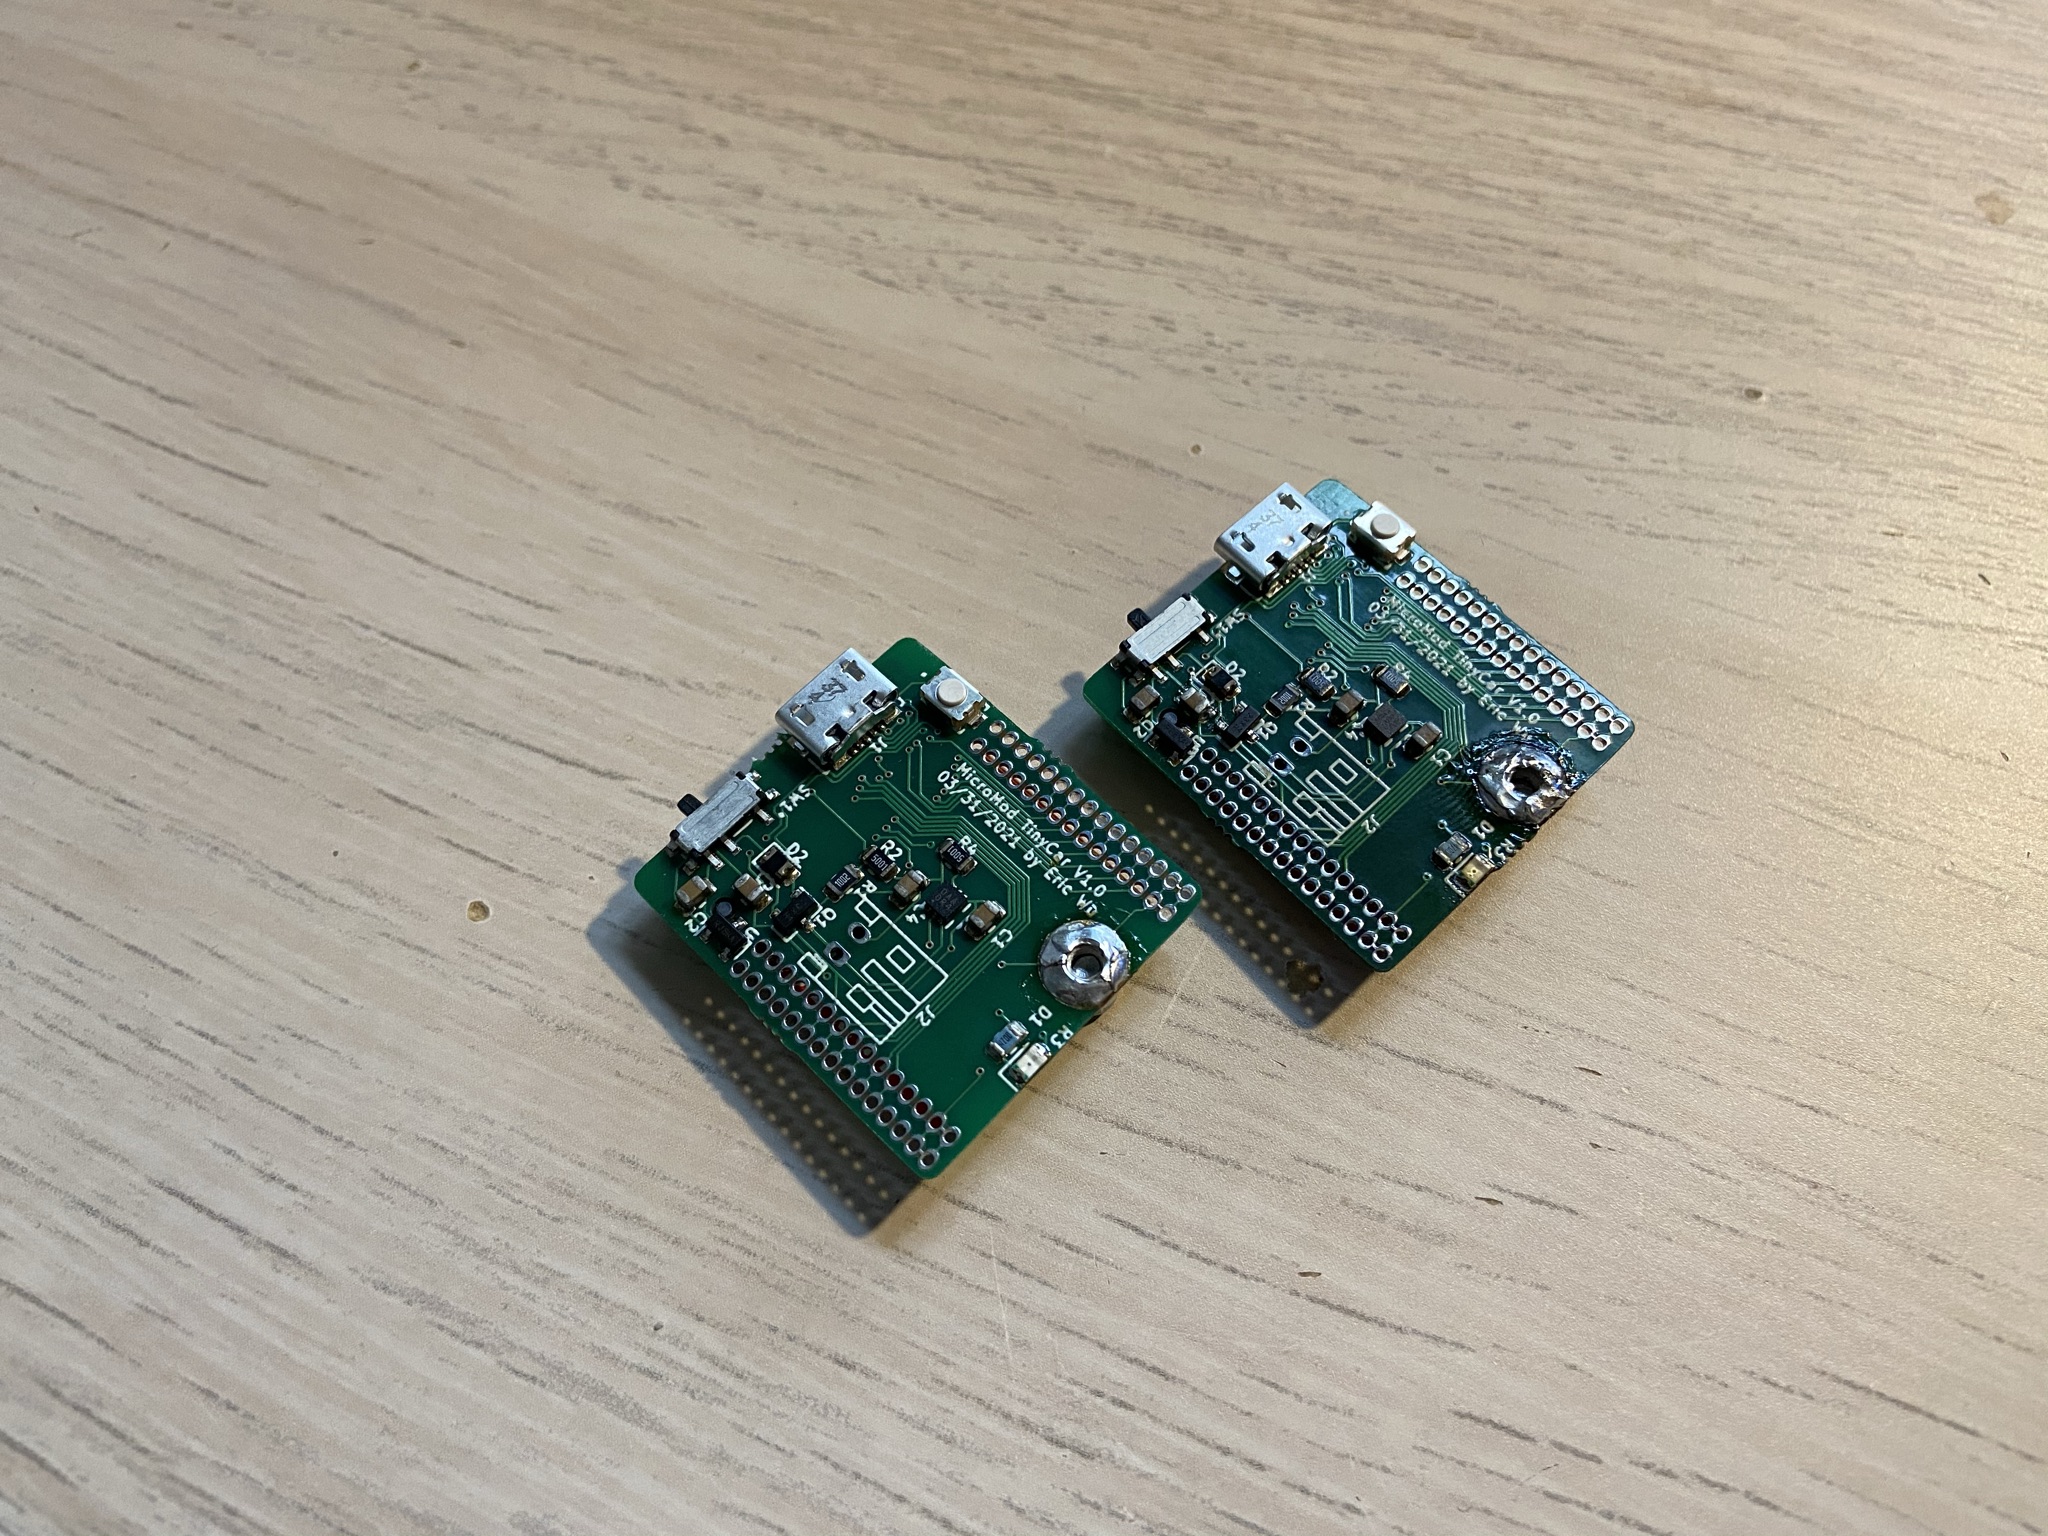
Panelized PCB


Rendered PCBs with and without panelization
Soldering
Reflow-soldering the board is much more difficult than I anticipated. On the one hand, I'm doing double-sided assembly with fine-pitch components; on the other hand, having a large, panelized PCB with only 0.6mm thickness certainly did not help... An important lesson I got from this project is that while PCB panelizing can be cost and time efficient, it can easily backfire :)


Panelized, 0.6mm PCB from JLCPCB